
 vCSA升级前版本:6.5 U3f 15259038
vCSA升级后版本:7.0 U1d 17491101
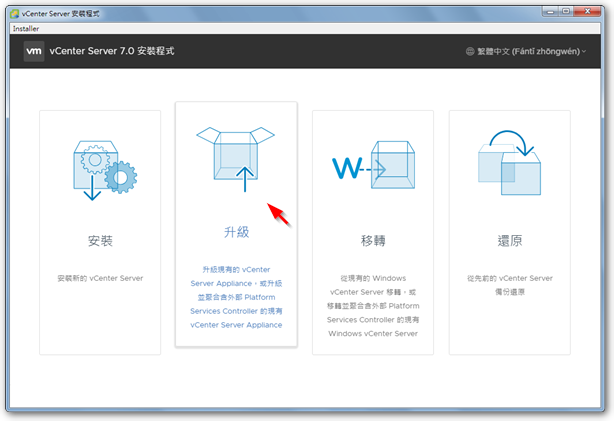
◎ 解压缩 ISO 文件,执行 “vcsa-ui-installer\win32\installer.exe”,右上角可以切换语言。
◎ 点击“升级”。
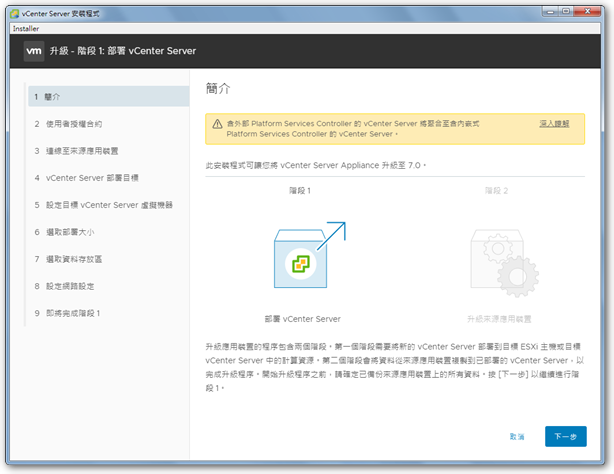
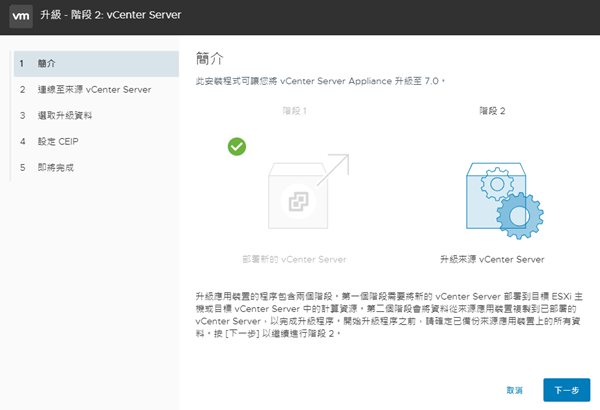
◎ 升级流程分为两个阶段。
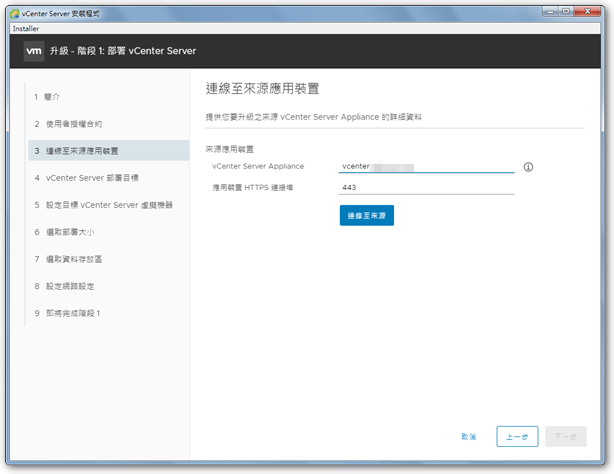
◎ 输入旧版 vCSA 的信息,并点击“连接到来源”。
◎ 同样是输入旧版 vCSA 的信息。
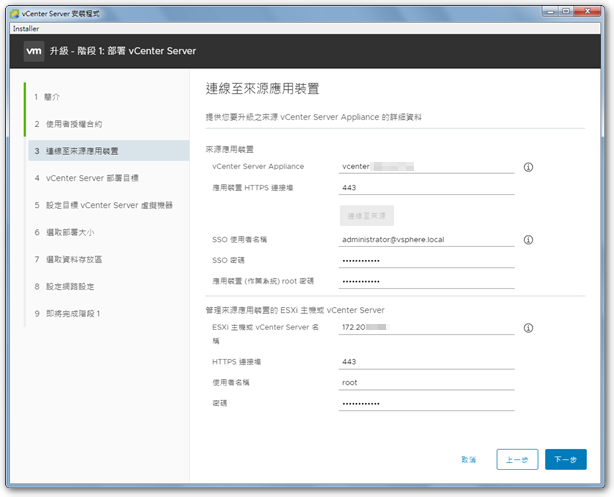
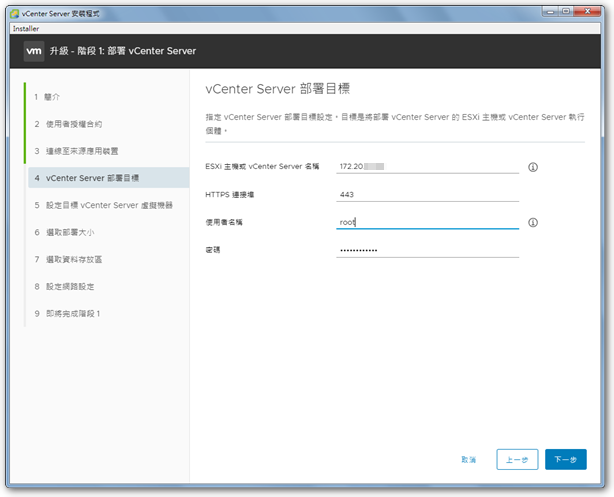
◎ 输入新版 vCSA 所要存放的 ESXi 主机信息。
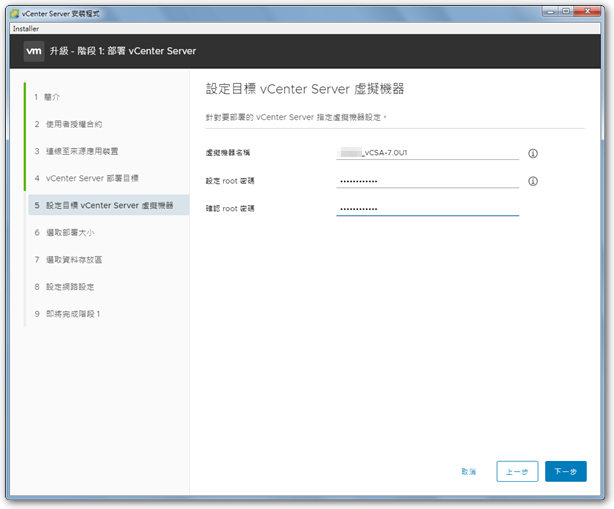
◎ 输入新版 vCSA 信息。
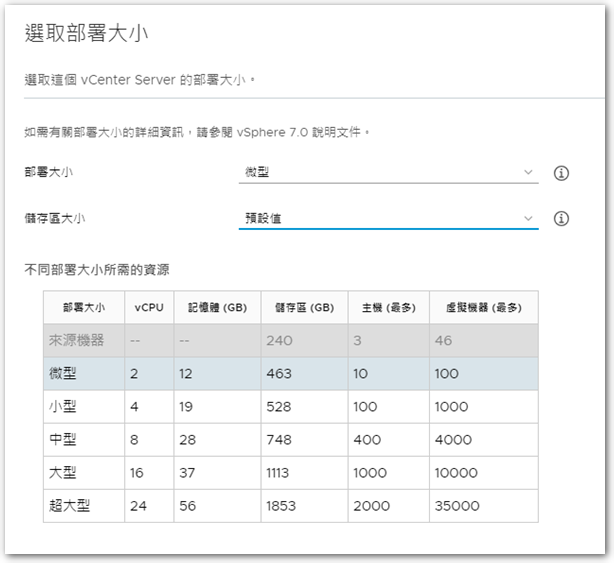
◎ 按建议选择合适的资源选项。
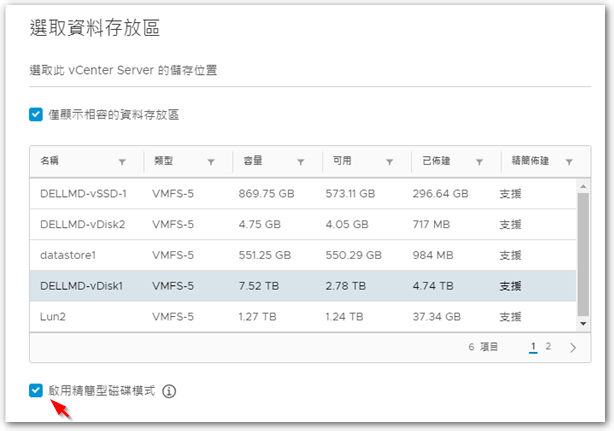
◎ 选择要存放新版 vCSA 的 datastore,并勾选精简模式以节省硬盘空间。
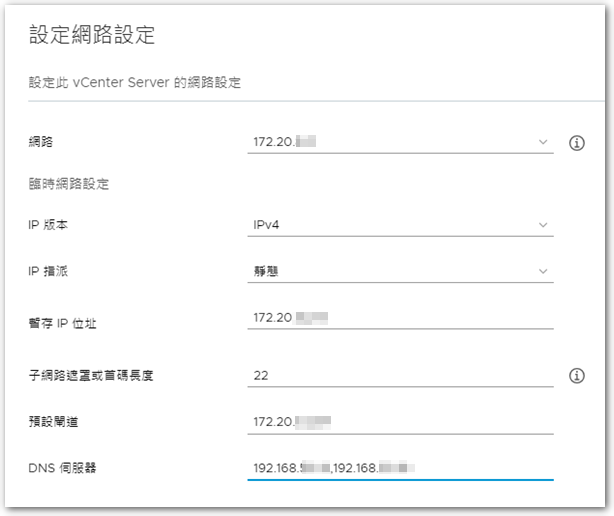
◎ 输入在升级过程中,要给新版 vCSA 暂时使用的一组 IP,待升级完成后,新版 vCSA 会自动改回使用原本旧版的 IP。
※ 建议设置与旧版 vCSA 同网段的 IP。
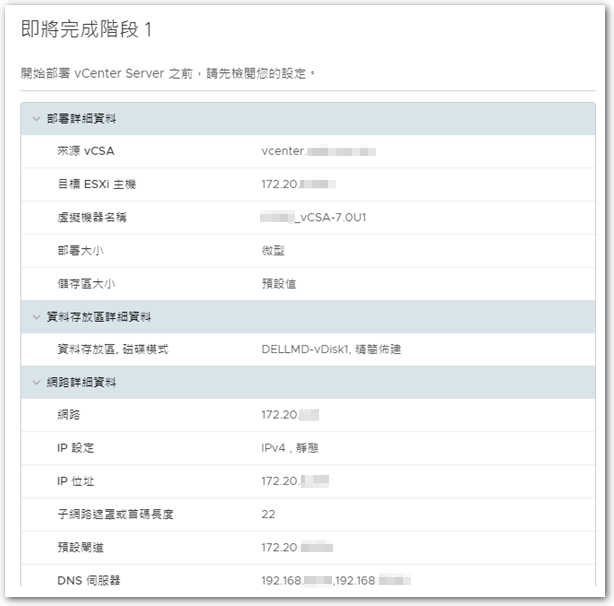
◎ 确认信息是否正确。
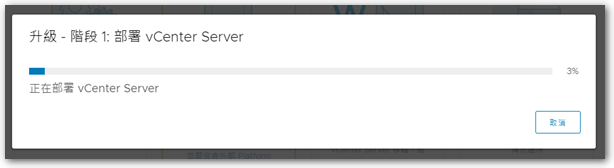
◎ 开始进行第一阶段的升级程序 – 构建新的 vCSA。
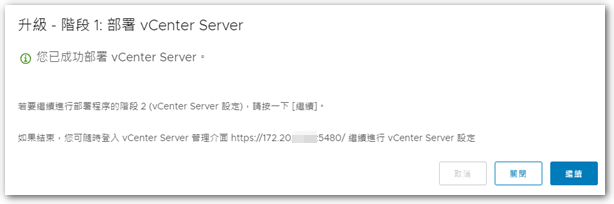
◎ 完成后,接着进行第二阶段 – 迁移数据。
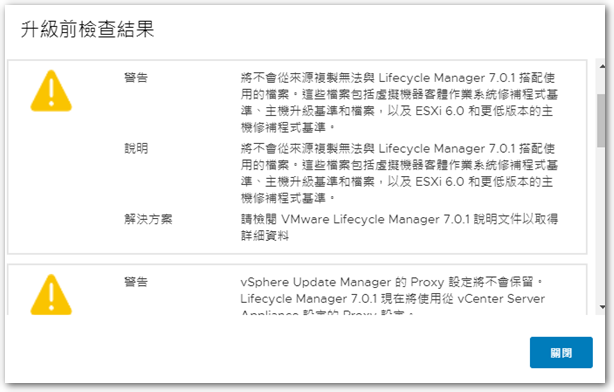
◎ 迁移前会进行检查,我的环境相对简单,所以它的警告内容都可以忽略。
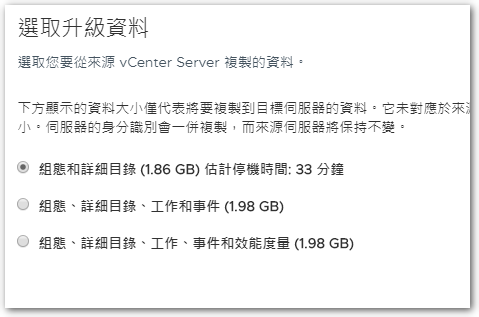
◎ 選擇要轉移的資料。
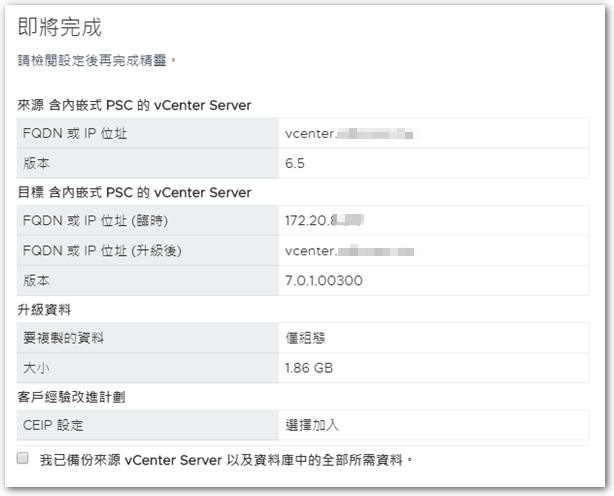
◎ 完成最後的確認後,勾選下方「已備份…」的選項,即可開始進行第二階段的升級程序。
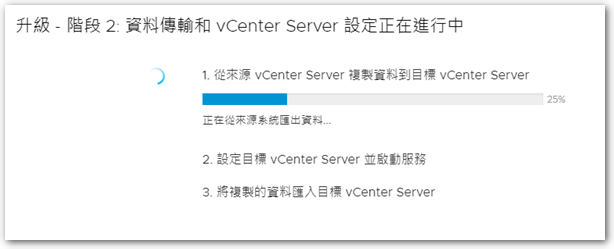
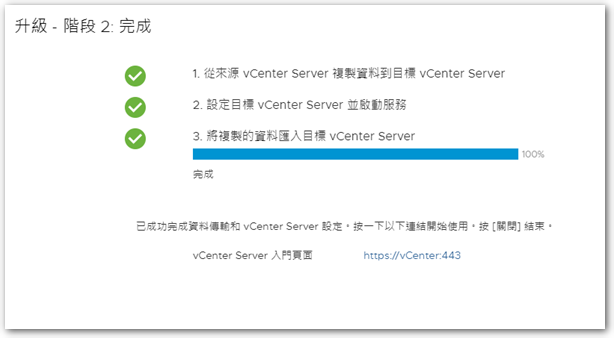
◎ 第二階段會花比較長的時間,結束後即完成本次的 vCSA 升級動作。
【参考链接】

")
")


