
 之前在安裝 Windows Server 2019 時,有注意到預設會選擇 Server Core 環境,感覺微軟有想要大推這種指令模式的作業環境。而在完成 Windows Server 安裝後,開啟「伺服器管理員」時,則是會出現建議我們嘗試使用 “Windows Admin Center” 的資訊,因此就想說那就來試試在 Windows Server 2019 Server Core 安裝 Windows Admin Center 看看。
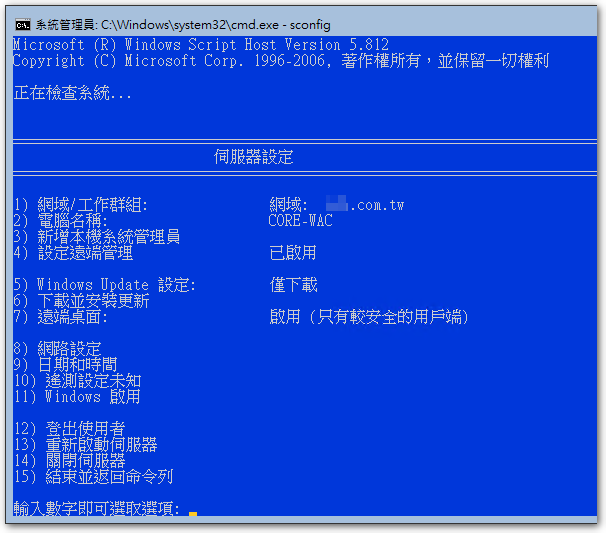
◎ 安裝完 Server Core 後,建議可直接輸入 sconfig 指令 (System Config)。該指令可完成在作業系統裝完時所需要進行的大多數設定,包含 IP 設定、Windows 更新,以及啟用等等。
◎ 到 Microsoft 評估中心 下載 Windows Admin Center。
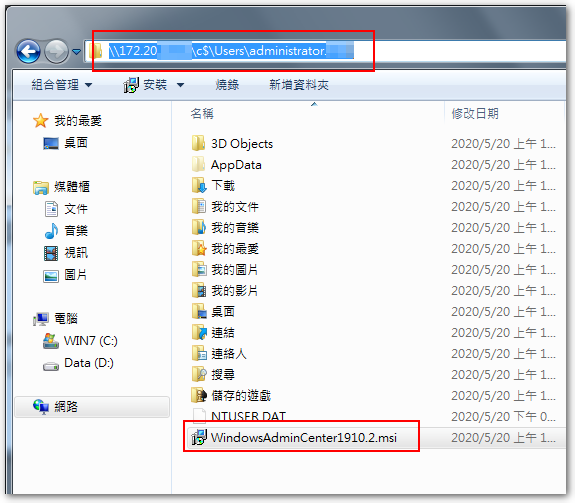
◎ 接著透過網芳將安裝檔複製到這台電腦。(目前還沒想到更好的方式..)
◎ 輸入下列指令開始進行安裝:
msiexec /i WindowsAdminCenter1910.2.msi

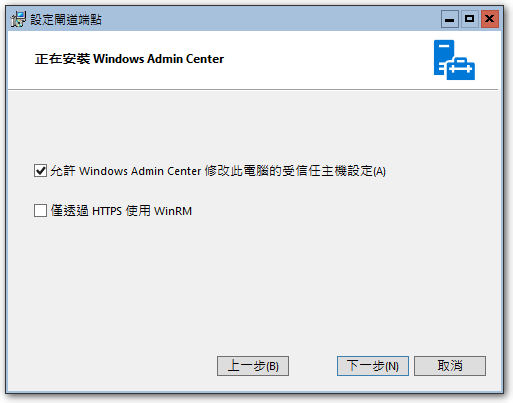
◎ 使用預設的設定。
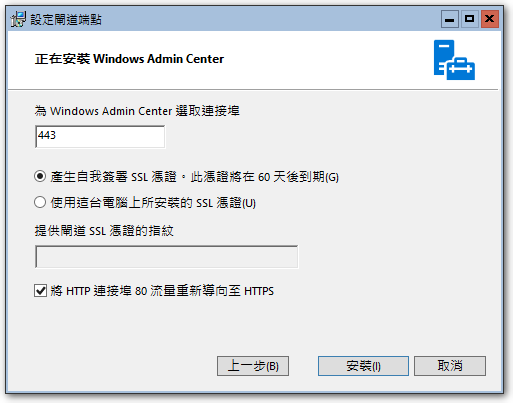
◎ 使用自己簽發的憑證。
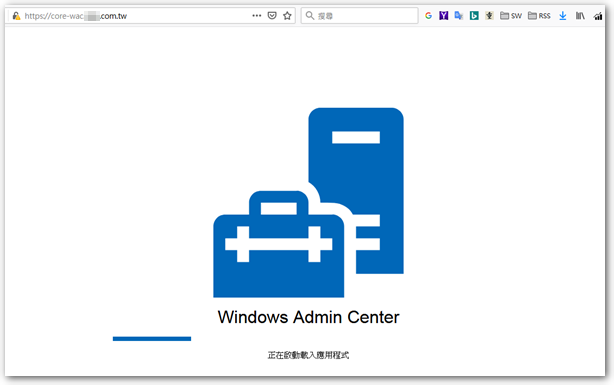
◎ 完成後即可從別台電腦的瀏覽器,輸入這台的網址,並使用這台電腦擁有管理者權限的帳戶登入。
【參考連結】
- 網管人 153 期 – 新版 WAC 免費易用輕鬆管理主機和容錯移轉叢集 ~ 不自量力 の Weithenn
- 在Windows Server 2016 Core模式下安裝Windows Admin Center – IT閱讀
- Windows Server Core 基本管理介紹 @ 毛哥資訊日誌 :: 痞客邦 ::
- 在 Microsoft Evaluation Center 試用 Windows Admin Center

")
")


發佈留言